ASKAR FRA 600 ASTROGRAPH
Peter Detterline / David Fisherowski
The Askar FRA 600/5.6 APO is a quintuplet astrograph which, according to the company, “supports widefield astrophotography but is also perfect for high quality observation.” The astrograph is built “on a Petzval design, offering a front triplet and rear doublet lens.” In this review let’s see how it measures up.
IN THE BOX
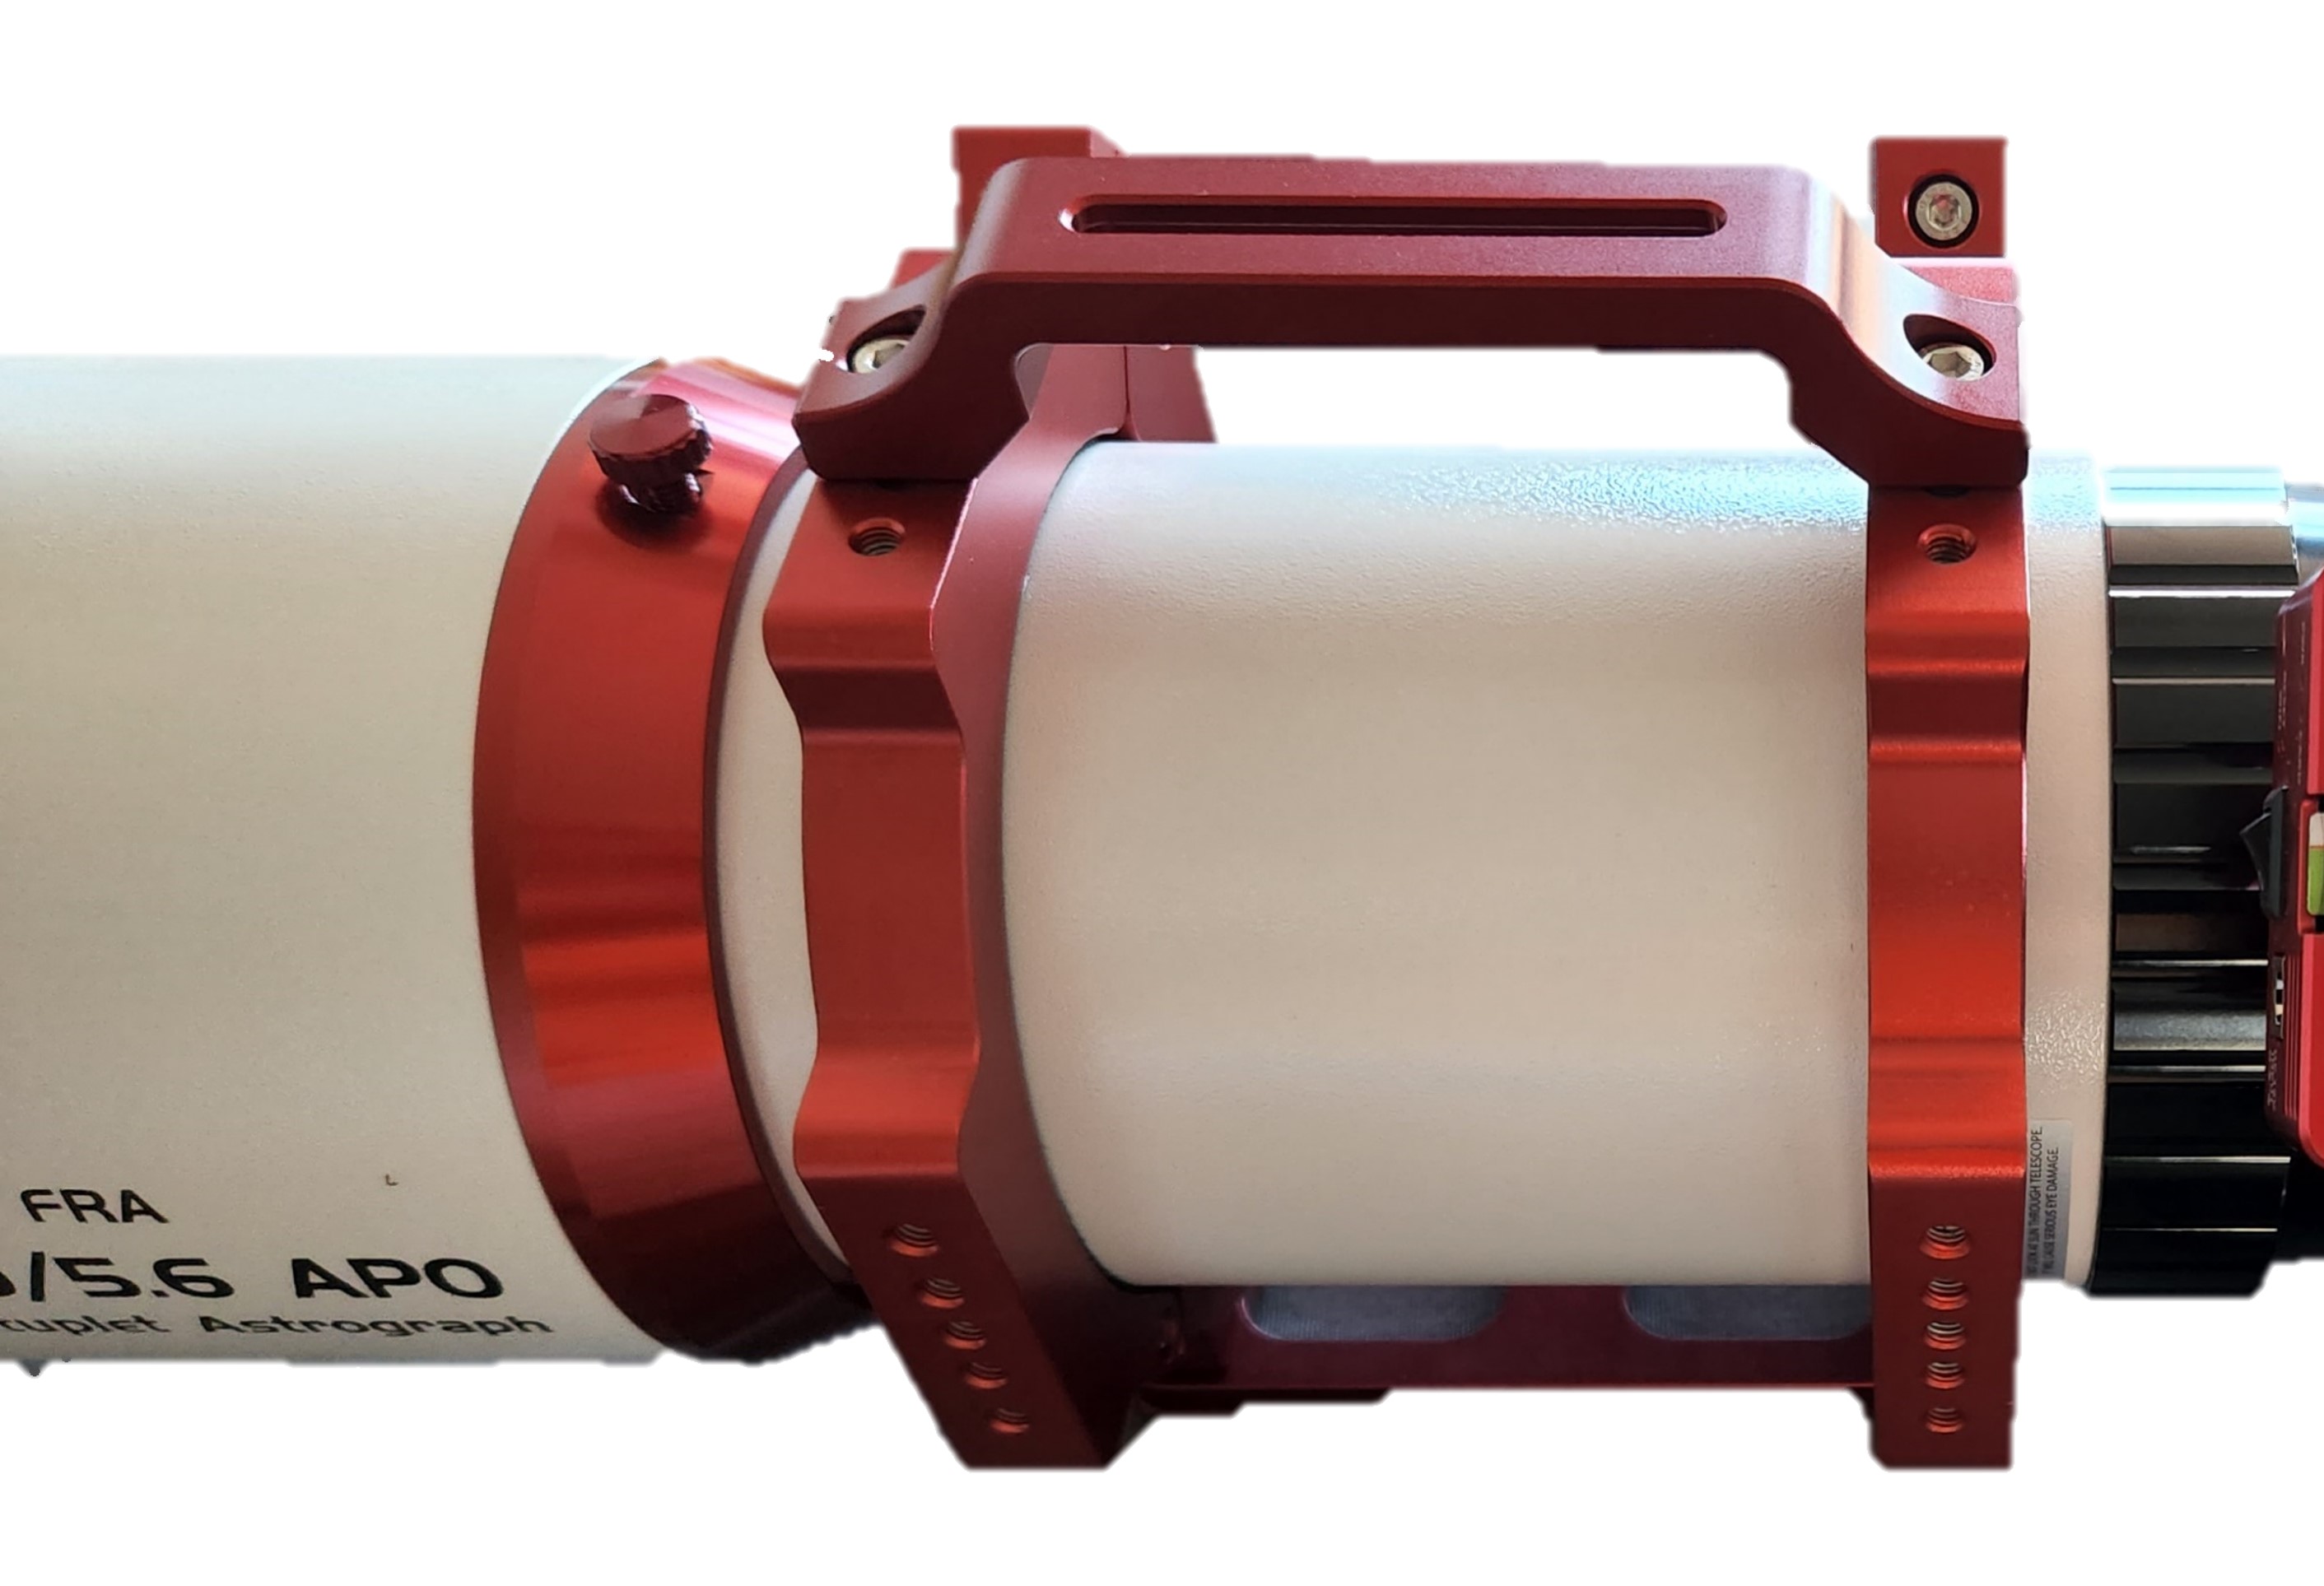
Typically, when you have a good product, you put it in a good case. The trunk style case is fitted with dense foam and secure latches. If you were travelling in a vehicle to a site this would be a good choice. On an airplane not so much, as it’s a bit too tall at 11½ inches to fit into most checked luggage. Regardless, once you put on all of the attachments, you would need a larger case anyway. Inside, the astrograph is well wrapped and comes with 4 adapters with sizes of M90/ M68/ M54/ M52/ and M48. The tube ring is well constructed and smartly designed. There are no knobs to loosen the ring; it’s all done via an Allen wrench which is a different approach from most, but assures a secure fit. Depending on your preference, this is either annoying or ingenious. You have no knobs to interfere with the guider, but more work if you need to loosen it. It’s definitely more annoying having knobs that interfere, but they also have turn down style knobs that prevent that as well. There is a handle on top which can also serve for mounting a guider and on each side a line of five screw slots to attach various objects.


FOCUSER MODIFICATION
The first thing was to change the focuser to a ZWO EAF. The focuser looks great, but the advantage of the EAF over manual focus is obvious with the autofocus routine in the ASIAIR. The blue covering over the focuser pulls off- it is tight, but it will give.
Attaching the EAF was simple enough. One screw removes the focus wheel with the smaller Allen wrench provided by ZWO. There are six focuser screws on the bottom. You want to remove four of them, two on each end, leaving the two center ones in places. To remove the focus screws you will need a 2.5mm Allen wrench. The screw size is an M3, and typically you won’t find M3 as an Allen screw at the local hardware store so a Philips screw is fine. You will need to purchase four M3 screws, 25mm in length with washers. Attach the focuser set screw provided by Askar, but don’t tighten it.

ATTACHING THE CAMERA
As mentioned previously, there are several adapters to attach cameras to the Askar 600. The camera chosen for testing is the ZWO ASI533 MC PRO, with a Starizona filter slider. In a nutshell, you’ll need all of the adapters. Just screw them all together with the M48 adapter attaching to the filter slider. It’s an eloquent design in that it is very easy to switch back and forth between visual and photographic applications by just unscrewing the visual back housing. Whether you are working with visual or astrophotography, the 360° field rotator is available for both although it would be nice if it had degrees and a marker to set position angles on multiple nights.

ADDING A GUIDESCOPE
As mentioned, the guidescope will attach to the handle of the astrograph. A StellarVue SV60 EDS was chosen which becomes a bit problematic; StellarVue uses the English system and Askar the metric. The problem is that the slot in the handle is too small for the English equivalent. The solution here was to slightly widen the slot in two places with a drill to pass the Allen Screws through to attach the rings. A better solution would be to purchase metric rings and then it’s not an issue. This is a slick solution attaching the rings directly to the handle, but ultimately you would want the guidescope on a separate bar that can detach easily for travel. What would be ideal is if the handle was also a Vixen bar. Dave had a different solution where he removed the handle and just attached a Vixen mount. From here he attached the guidescope and ASIair.

Close up of Dave's final guide setup

ADDING ZWO ASIAIR
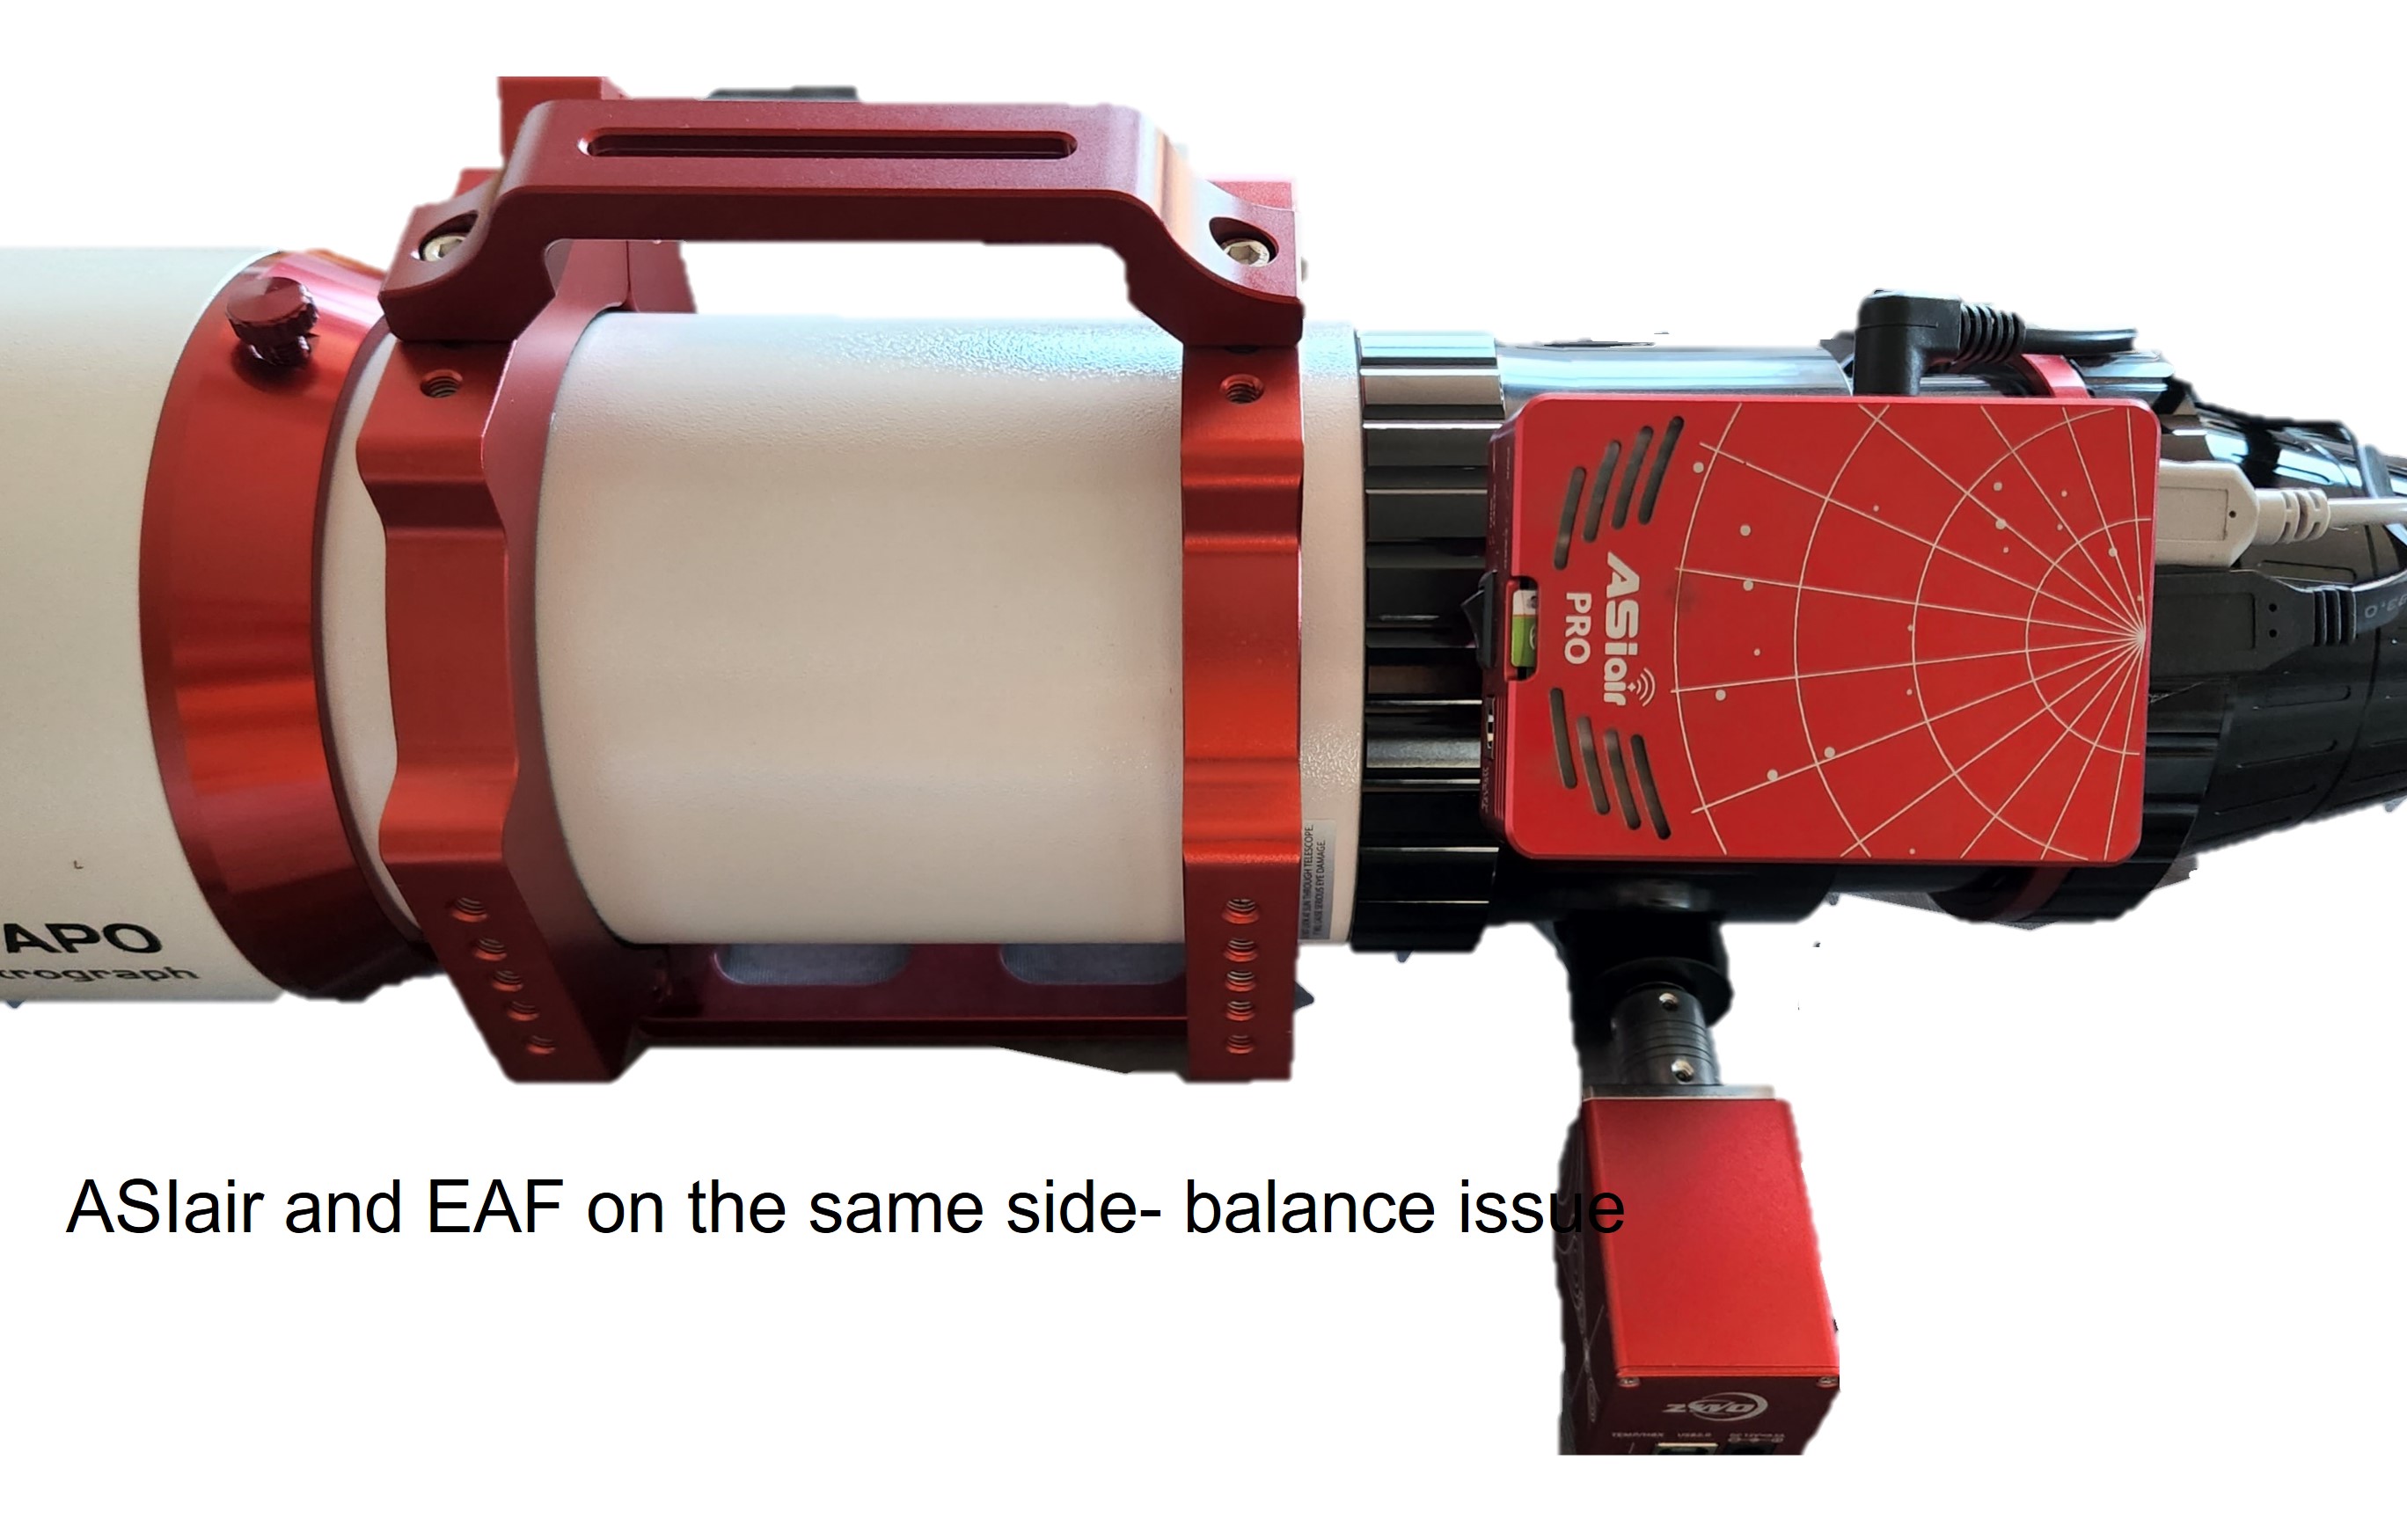
The ASIAIR has become the standard for our telescopes, and having an easy access location is ideal. This is where Askar runs into a problem. The ASIAIR ideally would fit on the finder shoe ,which is provided, so there’s no problem. However, the finder shoe is placed on the side where the EAF is located making it heavy on that side. I would love to see a future modification where Askar would put two screw holes on the opposite side so you could switch the finder shoe to the opposite side if needed.
Update 8/21/22
By adding the Vixen bar for the guidescope I was able to get around the balance problem by installing the ASIair Plus on the bar behind and under the guidescope. Please refer to the picture above for clarification.
PUTTING IT ALL TOGETHER
I was a bit concerned about how small the Losmandy plate was as far as balance, but they have this configured nicely and balance was easy. I was very impressed with the visual back and the “cone” photographic adapters. I aligned the guidescope up in the daytime and put on the visual back on the Askar and it was very close to focus. I attached the cone adapters and camera, and again it was very close to focus. Really nice job Askar! The system with the guidescope, cameras and attachments is a bit heavy at 23 lbs. Dave’s setup is also shown with the guidescope on a Vixen bar as described earlier.

VISUAL TEST
I wanted to view some items visually which is something I wouldn’t normally associate with an astrograph. Again, I am impressed how easily you can change from imaging to visual with minimal focus issues. The visual back has three screws for a secure fit on the diagonal. I used a TeleVue 35mm Panoptic which gave a field of view of about 4 degrees and a magnification of 17x. I also used a TeleVue 14mm Radian eyepiece with a field of view of 1.4 degrees and a magnification of 43x. The views through both were impressive. Stars were very sharp at the edges and the views showed beautiful contrast. Obviously, with its wide field, the astrograph isn’t for planetary work, but the crispness of detail on the waning gibbous Moon was beautiful. The double cluster in Perseus and the Pleaides were sharp and had a pleasing field of view. The Pegasus globular M15 was still a bit small in the Radian at 43x, but stars could still be seen toward the center of the cluster. The star Albireo was split very easily and showed wonderful color through both eyepieces.

SUMMARY
This is a beautiful instrument. It is a well thought out design, and will certainly fulfill your needs for wide field visual and astrophotography.
Things I liked:
Optical quality is superior. Gorgeous images with wonderful contrast with tack sharp, coma free stars at the corners.
The photographic cone adapters and visual back spacing- no guesswork and focus is close for both.
Things I would like to see changed:
Having screw holes on the other side of the astrograph to have the option of changing the findershoe
Making the top of the handle a Vixen plate.
The 360° field rotator. Put degree marks around it and a marker for setting a position angle.
PHOTOGRAPHIC TEST
I’m giving this section to Dave for testing since this is his telescope and he is quite skilled with deep sky imaging and processing.
First Light Images 8/25/22
NGC 281 PacMan Nebula
15 x 600sec each

Bubble Nebula
12 x 600sec each

Cave Nebula
15 x 600secs

Crescent Nebula
12 x 600secs

M27 Dumbbell Nebula
15 x 600sec each

Lunar image of Tycho crater using a ASI 533 MC Pro. One minute AVI (ROI 1080) obtained using AsiAir Plus video and stacked in AS3 and finalized in PSCC.

Update 9/19/22
Tulip Nebula
17 x 600sec

Cocoon Nebula
19 x 600sec

More images to come as clouds allow.
M 101 with Supernova 5/28/23

Solar images


No comments:
Post a Comment